Level – Intermediate
The patterns featured are intended for crocheters who are comfortable making intermediate level projects.
Contents include photos and detailed instructions to aid in your completing this project with ease.
Decorative applique patterns of choice can be found on this site separately from the featured pattern.
These motifs would also be super cute applied to crochet bags, hats, blankets, tops, pants, skirts, or gloves!
DISCLAIMER:
This pattern belongs to MyCocoLily.
It may not be copied or redistributed in any form and is for personal use only.
Any items made by those who purchase this pattern may be sold, donated, auctioned, or gifted.

If you need help with anything, feel free to send me a message at [email protected]
My lovely testers from the Ribblr crochet community!


Also featured here are items made by my testers using my other patterns: Rabbit, Water Lily, Frog and Bear, and Blossoms and Leaf Appliques.
What you’ll need:
“I Love This Cotton” Medium (4) weight yarn in the color “off-white”
“Coboo” Light / DK (3) weight yarn, in the color “Blossom”
3.50mm hook, 2.50mm hook, stitch marker, scissors, darning needle
tinsel (optional), crochet appliques (optional)
Abbreviations
Symbol
sc – single crochet (using the Yarn Under method for X shaped stitches)
sl st – slip stitch
ch – chain
( ) indicates how many stitches you should have by the end of the row.
Size
1 1⁄2“ by 2“ teabag, 1“ by 1“ label,12“ string
Yarn & Material Substitutions
Your choice of yarn and hook size will directly affect the final size, stiffness, and appearance of your finished teabag.
I personally prefer to use medium (4) weight cotton yarn for the larger portion of this project (the bamboo blend is for the border). Cotton is fantastic because it has very little stretch, isn’t overly bendable, and naturally stays flat, which helps the bookmark/bag charm keep its teabag shape.
However, feel free to experiment with what you have in your yarn stash! Here are a few alternative materials you could use and how they will change your project:
• Acrylic or Milk Cotton Yarn: If you choose a standard acrylic yarn, your teabag will feel a bit softer and may have a slightly fuzzier texture. Because acrylic is more pliable than cotton, you might need to lightly steam-block your finished applique to help it lay perfectly flat.
• Chenille or Velvet Yarn: For a completely different look, try using a chunky chenille or blanket yarn with a larger hook! This will instantly transform a flat applique into a soft, squishy, and plush toy or oversized decorative pillow.
• Embroidery Floss (Micro Crochet): One of my amazing pattern testers sized down significantly with her materials to create an incredibly tiny micro-crochet teabag. If you want to try micro-crochet, you can use a single strand of embroidery floss paired with a tiny steel crochet hook (around 0.6mm to 1.0mm). Just keep in mind that working with such small thread is an art that takes some patience and practice if you’re new to it!
No matter what yarn you choose, try to match your crochet hook size to the yarn label recommendations, or go down one hook size if you notice your stitches are too loose. It may not look exactly like the featured prototype, but it will still come out incredibly cute, unique, and aesthetic!
Video References
for Optional Methods
Option 1:
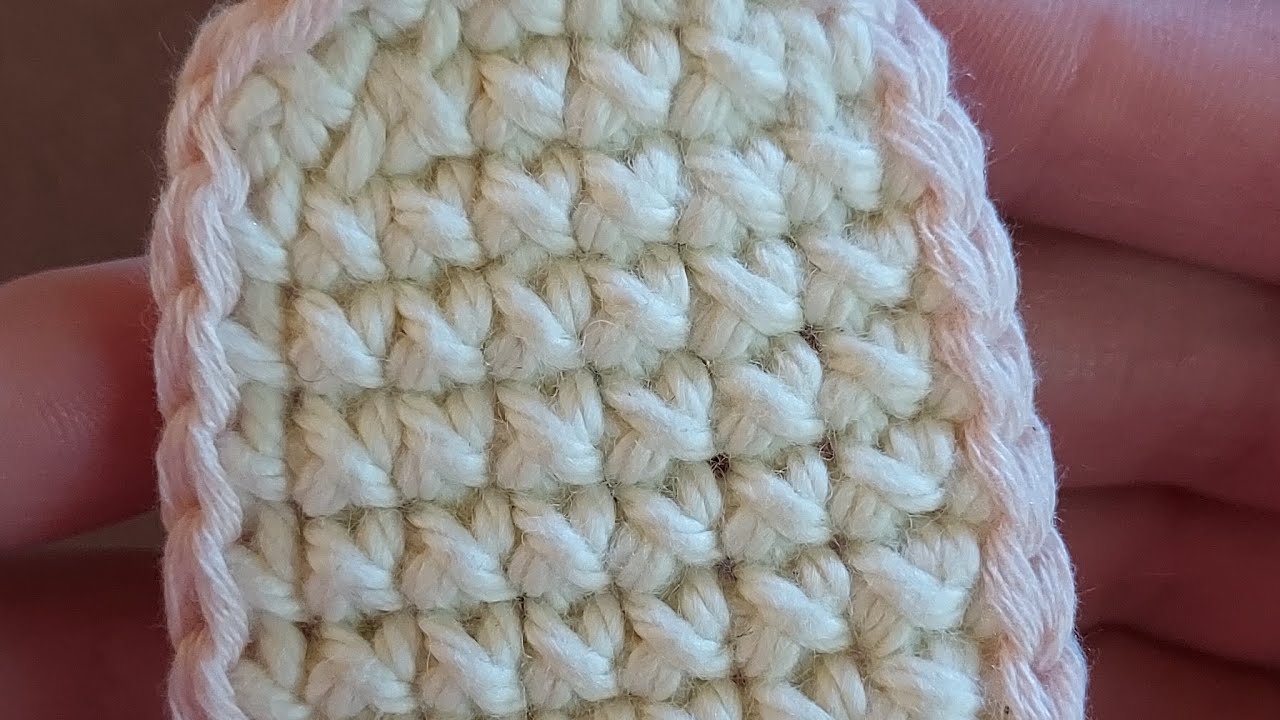
Option 2:
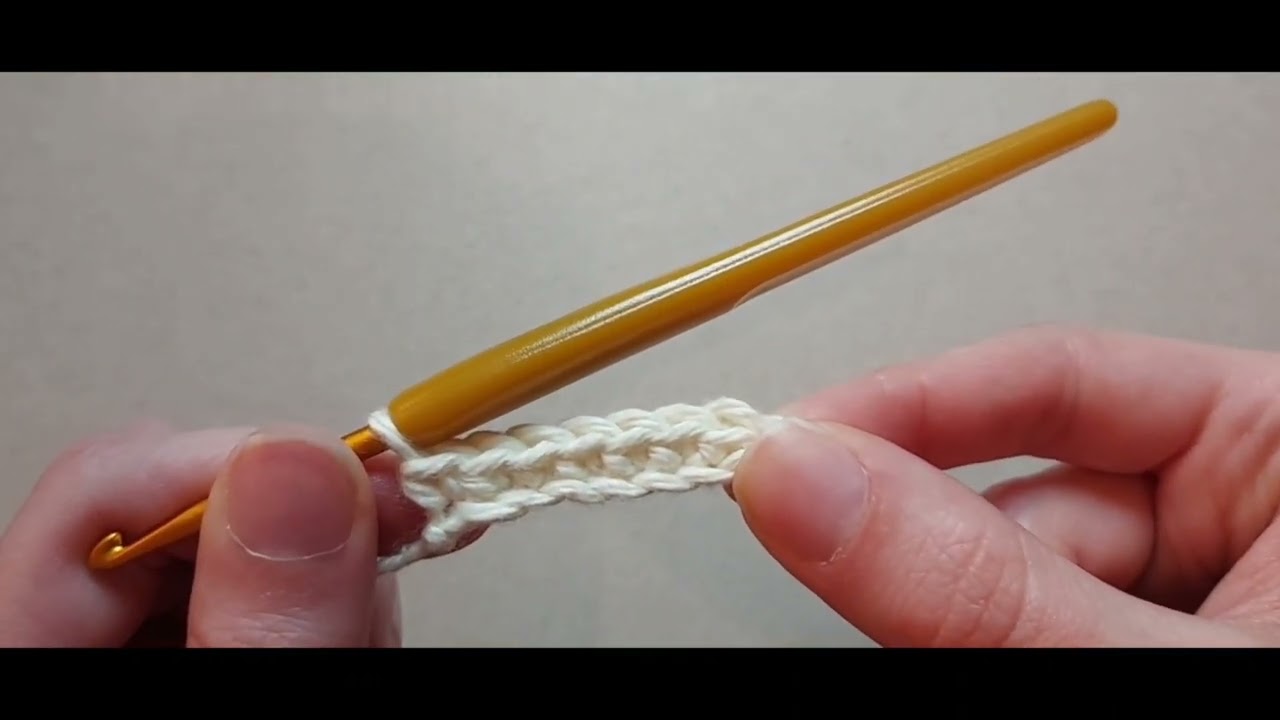
Teabag Instructions:
Use 3.50 mm hook & (4) Medium weight yarn.
ch 8

Row 1: skip 1st ch, sc in next 7 chains (7)

Tip for those using the method from option 2:
Remember to chain 1 and turn your work at the end of each row.
You also won’t be placing a stitch marker at the end of each row.
Rows 2-7: ch 1, sc in each stitch across (7)

Row 8: ch 1, dec, sc 3, dec (5)
Row 9: ch 1, dec, sc, dec (3)

Pull up on the loop, and cut, leaving a tail for weaving in ends.


Slip Stitch Border:
Use 2.50mm hook & (3) Light / DK weight yarn
Tip: I use a small hook for the sake of fitting it into the side stitches I’ll be slip stitching into.
Crochet with loose tension here.
With your new yarn and hook, pull up a loop from the side of the first stitch of row 9.


sl st into the next 3 single crochets.
Then, sl st into the side of the 3rd sc stitch (4)


sl st into the next side stitch (5)
ch 1 (6)
sl st into the next 7 side stitches (13)
ch 1 (14)


sl st into the next 7 stitches lining the bottom of the teabag (21)
ch 1 (22)


sl st into the next 7 side stitches (29)
ch 1 (30)


sl st into the next side stitch (31)

Leave the final side stitch alone.
Pull up the loop on your hook, and cut, leaving a tail.

With a darning needle, pull the yarn tail from the back through to the front of the first sl st of the border.

Be conscious not to pull through too tight here, as we are creating a shape that matches the other slip stitches.
Insert tail into the center of the last sl st of the border, and pull through to the back.


Weave in ends at the back, then cut excess.
Teabag Label
Use 3.50mm hook & (4) Medium weight yarn
Use the same stitch method here that you chose for the Teabag.
ch 4

Row 1: skip 1st ch, sc in next 3 chains (3)

Rows 2-3: ch 1, sc in each stitch across (3)

Pull up the loop on your hook, and cut, leaving a tail for weaving in ends.

Label Border
Use 2.50mm hook & (3) Light / DK weight yarn
Pull up a loop from the side of the first stitch of row 3.

sl st into the next 3 single crochets at the top of the label (3)
ch 1 (4)

sl st into the next 3 stitches lining the bottom (11)
ch 1 (12)

sl st into the next 3 side stitches (15)

Pull up the loop on your hook, and cut, leaving a tail for weaving in.

With your darning needle, pull your yarn tail from
the back through to the front of the 1st sl st of the border.

Insert tail through the center of the last sl st of the border, and pull through to the back.

Weave in ends at the back and cut excess.

Bag String
Use 3.50mm hook & (4) Medium weight yarn
Find the 2nd sc from Row 9 of the Teabag.
Insert your hook through the back loop of that stitch.

With new yarn, pull up a loop

ch 65

Pull up the loop on your hook, and cut, leaving a tail for weaving in ends.

With a needle, pull the yarn tail through the 2nd sc stitch of Row 3 of the Teabag Label.

Weave in your ends, pulling the tail taught at the back to secure the ch to the Label.
Be sure to weave in the ends of the Teabag, as well.

Now you can glue or sew (I use fabric glue) your appliques of choice to the Teabag.

Optional:
I like to glue tinsel that I’ve formed into a bow to my Label.
Feel free to use other appliques to decorate.
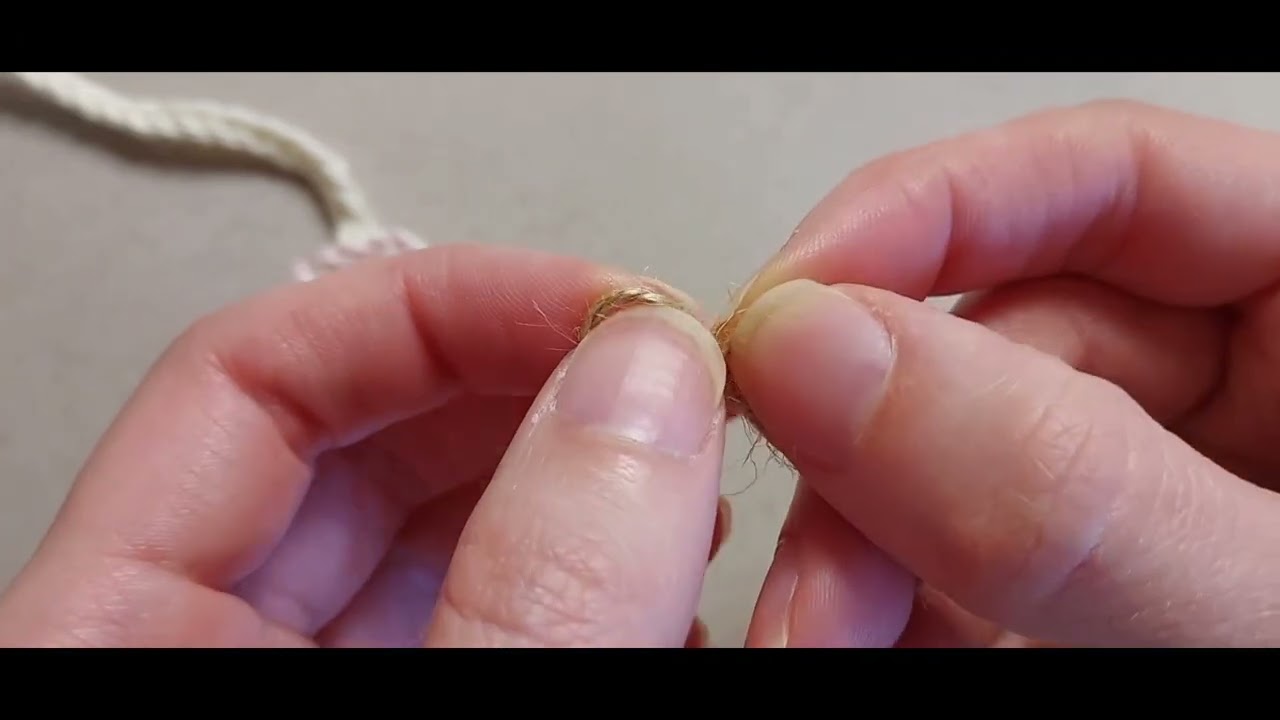
Cut about 5 inches of thin tinsel.
Cross both ends over each other at the middle.
When the 2 loops are formed, add glue to the center.
Also add glue to the Label.
Trim the ends of the tails to be more even, if needed.


If you loved making this, check out our other applique designs!